Get Started
Using Diploi
When you launch a new Project using Diploi, you get a repository in your GitHub account, which is fully configured. All you need to launch a new Project, is to sign up using a Github account.
Launching a new application
When you register, you get access to the Diploi dashboard which allows you to create projects where you can collaborate with your team, connect to remote development environment, and create development, staging, and production deployments.
Test-driving Diploi
You can try out Diploi without registering, by starting a trial from our homepage, visit diploi.com/#StackBuilder, select the stack you want to test out and click launch. This will start a trial environment where you can try most features that Diploi has to offer in a development deployment. This deployment stays active for 1 hour and can be claimed by registering an account.
Starting a trial from the Homepage
Quick Launch is the fastest way to get started with Diploi. It allows you to quickly launch a new application online without the need to create a repository or configure anything. You can start a deployment right away from our homepage.
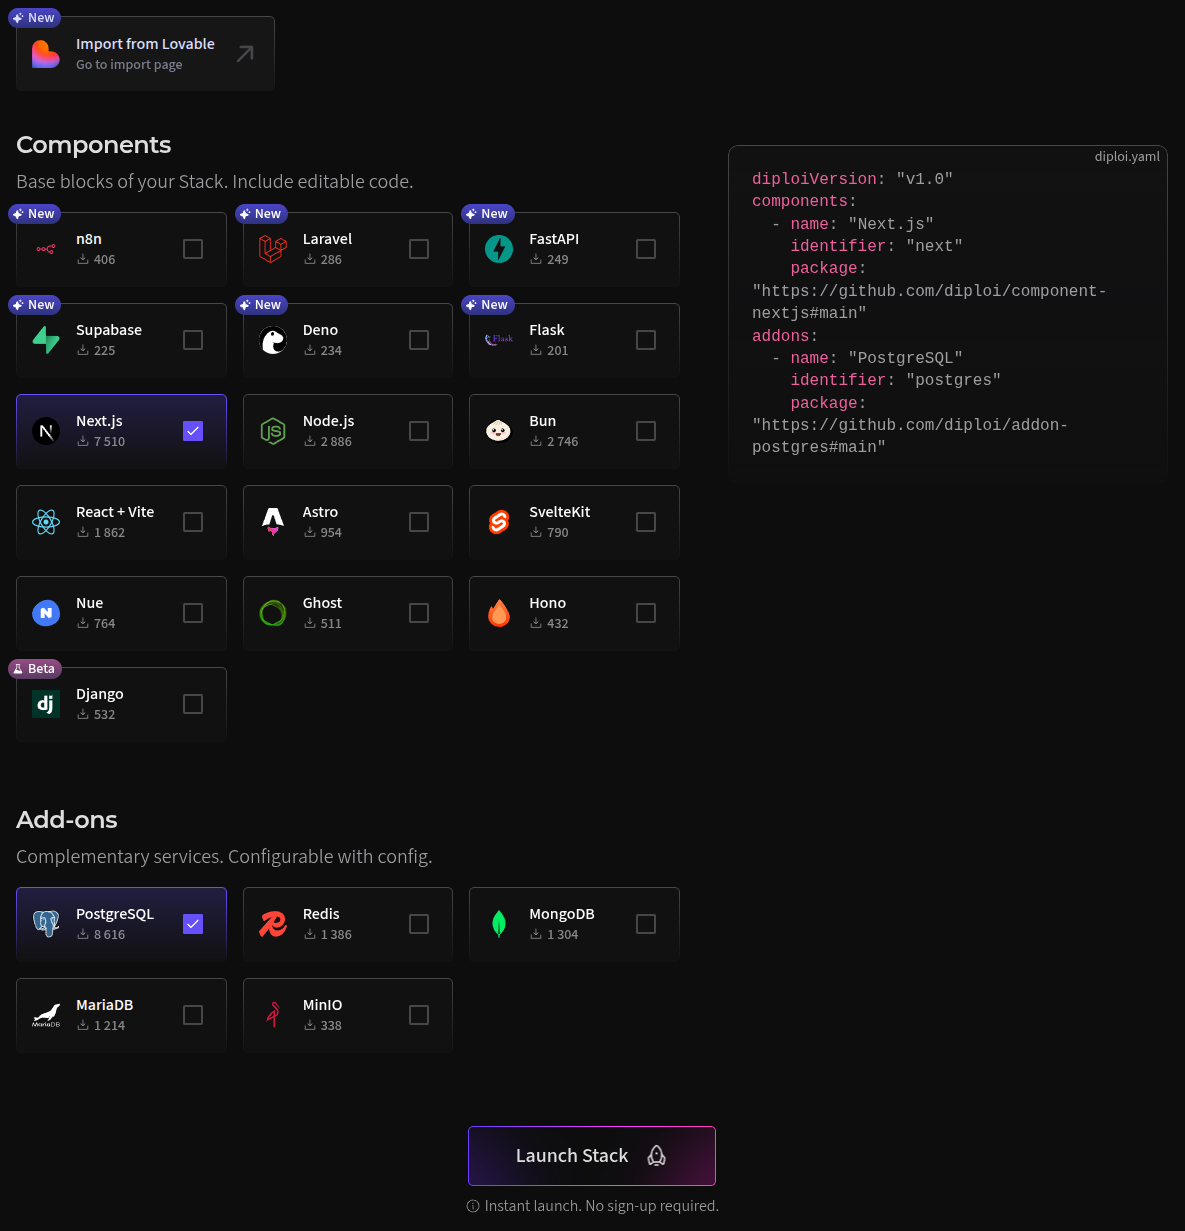
In the stack builder, you can can choose the components and add-ons you want to have in your deployment, and that’s it!
You can click “Launch stack” and your deployment will be ready in about 30 seconds.
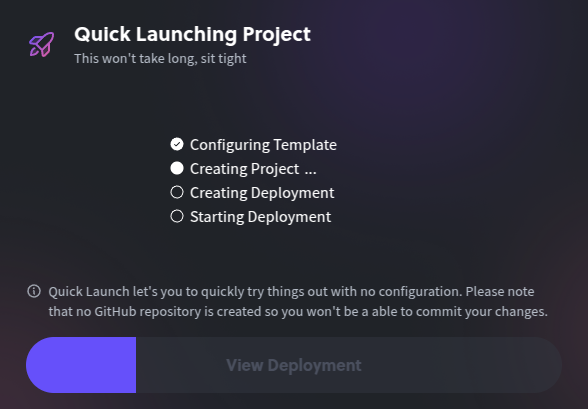
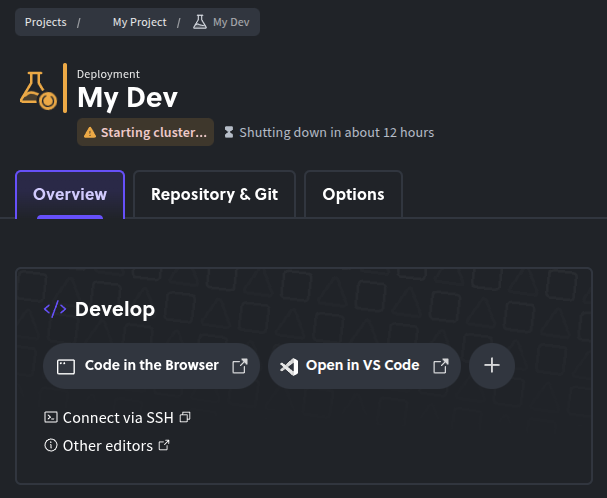
Once the launch is complete, you will be able to connect to the remote server and your deployment will be accessible online with https.
Using Diploi for Production
To get started using Diploi for Production apps, you need to create a Diploi account. Since Diploi is tightly integrated with GitHub, you will need a GitHub account to be able to register. To register, go to console.diploi.com and authenticate using your GitHub account.
For more information on how to use Diploi, check out the following guides: