Deployment Lifecycle
Creating a Deployment
To start creating a deployment, you must first create a project. Once you have a project, you can start creating new deployments.
In the next steps, we will walkthrough all the properties that can be set up when creating a deployment.
General Settings
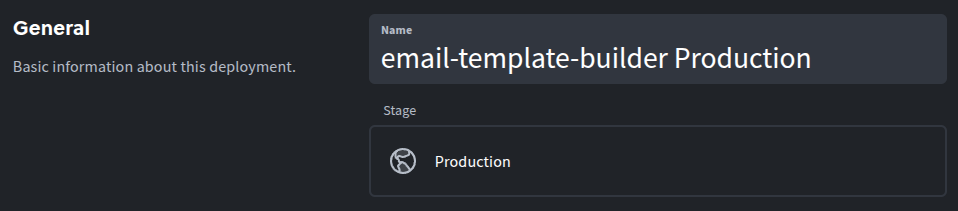
Within the general settings of your new deployment, you can define the name of the deployment and its stage.
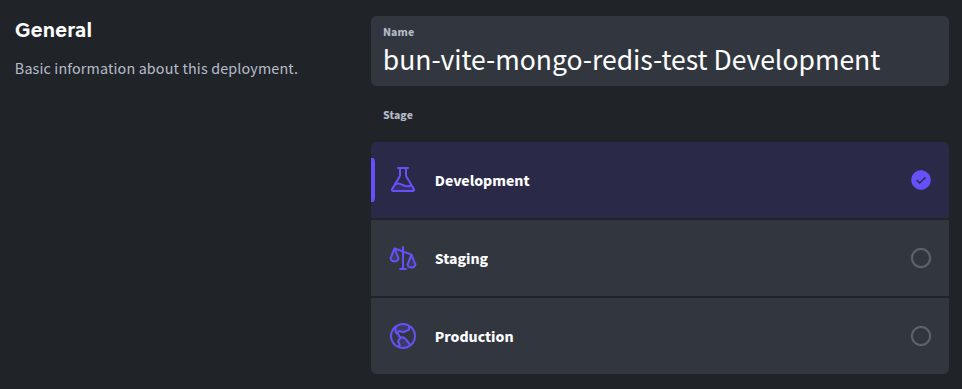
Deployment Name
This will identify the internal name of your deployment within your Diploi project. You can change the name of a deployment at any time. Changes to the project name will not affect your deployment, project, repository or dependencies.
Deployment Stage
In Diploi, you have three stages that you can assign to your deployments:
Development
Development deployments enable remote development and let your application be served online development. It offers a cloud IDE that can be used for remote development and also allows you to SSH into the environment using VSCode.
Development deployments often utilize hot module reloading (HMR) or similar techniques to enable quick code updates without server restarts. When using this stage, your code is cloned directly from GitHub without going through the build process.
Staging
Staging deployments are used for testing and quality assurance purposes. They run a build version of your application, exactly as your Production deployments do but as an independent deployment that would not affect your Production deployment.
Production
Production deployments host the build version of your application and it is intended to be the version of your application that your users will have access to.
Size
You must choose the appropriate size for your application. You can update the size of your deployment directly from the Options tab of your deployment.
- XS - 2 vCPUs and 2 GB of ram - 0,006 €/hour
- S - 2 vCPUs and 4 GB of ram - 0,014 €/hour
- M - 2 vCPUs and 8 GB of ram - 0,048 €/hour
- L - 4 vCPUs and 16 GB of ram - 0,089 €/hour
- XL - 8 vCPUs and 32 GB of ram - 0,182 €/hour
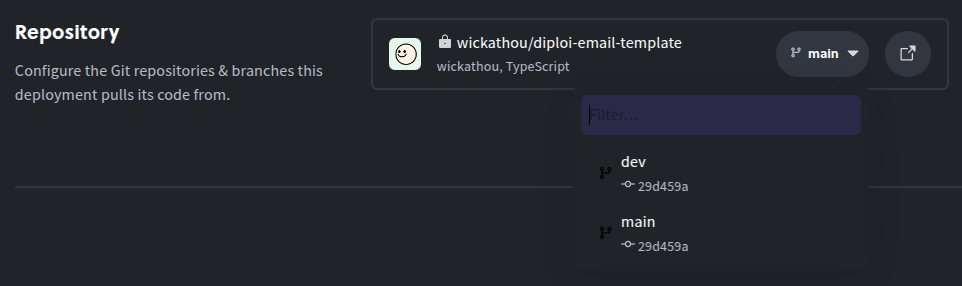
Repository
In this section, you will be able to define the branch that your deployment will use. You can change the branch source for your deployment from the Repository & Git tab of your deployment.
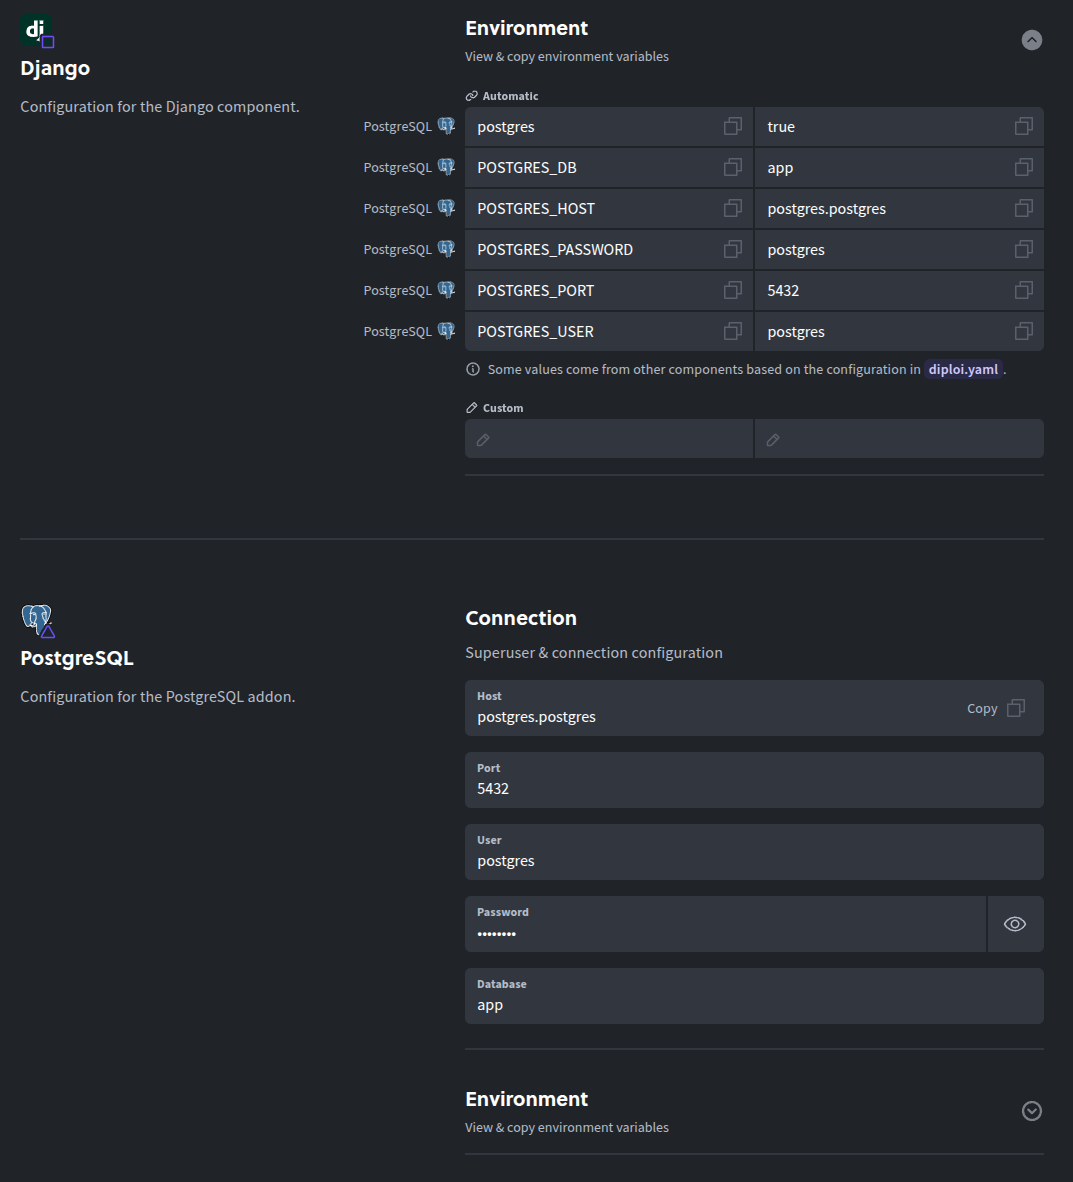
Component and Add-on Settings
Depending on your project’s components and add-ons, you might be able to make changes to the configuration, changes in this section will not affect other deployments or your project’s default configuration.
Cloning a Deployment
To duplicate an existing deployment (including its database and configuration), open the deployment dashboard, go to the Options tab, and scroll to the bottom.
https://console.diploi.com/<your account>/project/<project id>/deployment/<deployment id>/options
There, look for the section “Clone Deployment” and click on the “Clone this deployment” button. This will open the cloning wizard, which follows the same workflow as when you create a new deployment, explained in the previous section.
Managing a Deployment
Once you have created a deployment inside a project, you can access your deployment’s settings from the project page.
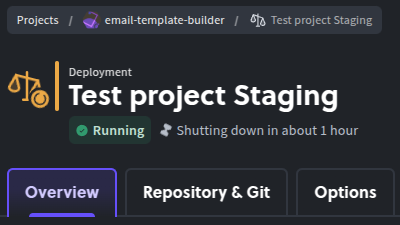
Overview
From the overview tab, you can see the status of your deployment, view the logs for each component and add-on running and resources used.
The overview tab is divided in three core sections:
Develop Section
Only available on Development deploymentsIn this section, you can get the SSH connection string to your development environment and access to the remote IDE environment.
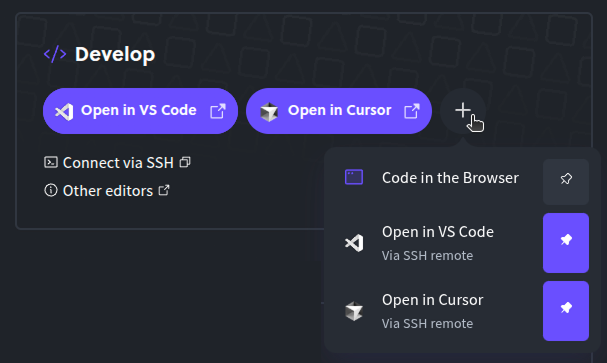
Remote Development
Diploi supports remote development by using the remote development capabilities of eg. Visual Studio Code, but any editor that supports editing using an SSH connection will work.
For more details, please see the Remote Development guide.
Connecting using SSH
Once you have created a deployment, look for the “Connect via SSH” command on the “Overview” tab. This command can be copied to your terminal of choice to open an SSH connection to the deployment.
Status tree
Where you can see the resources your deployment is using and the status of containers that are part of your deployment, logs, SSH connections for each container and their endpoints of all components and add-ons available on your application.
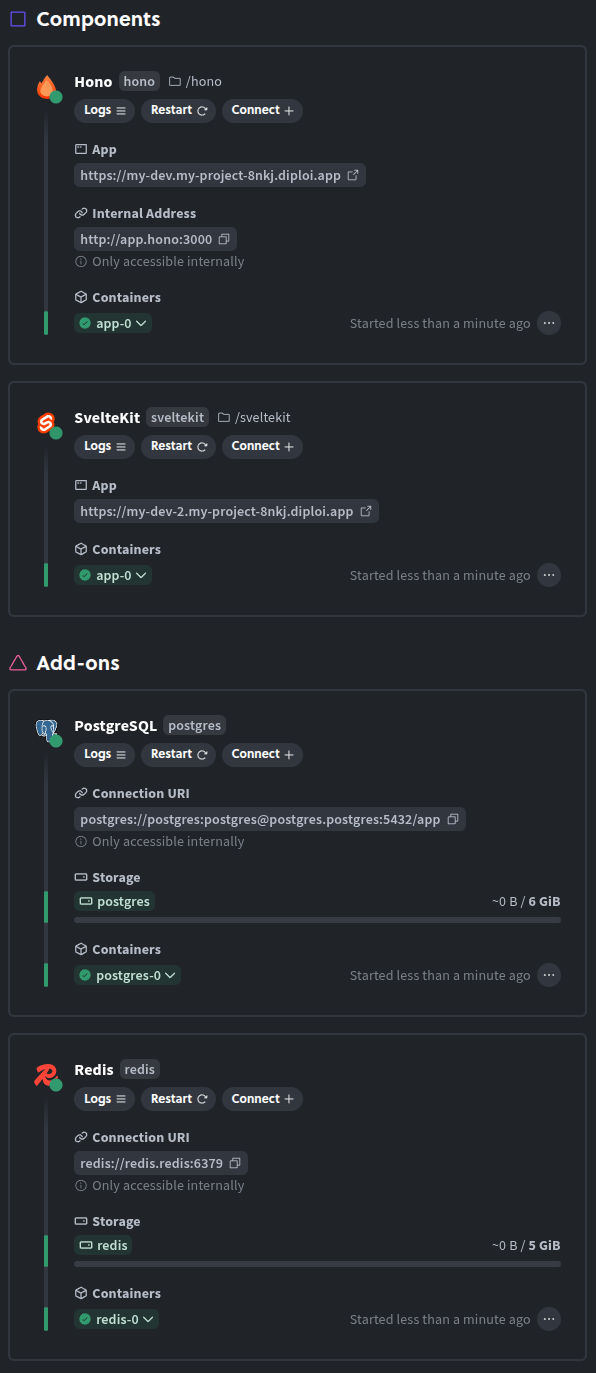
All public facing URL endpoints that your applications expose have SSL encryption by default.
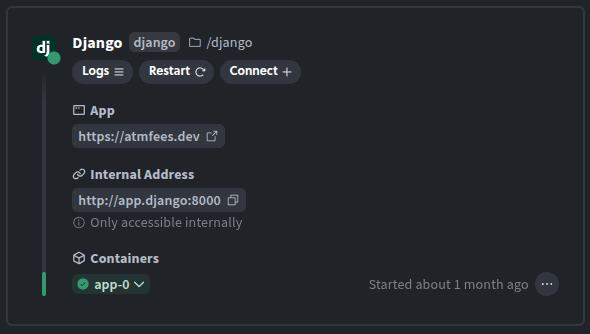
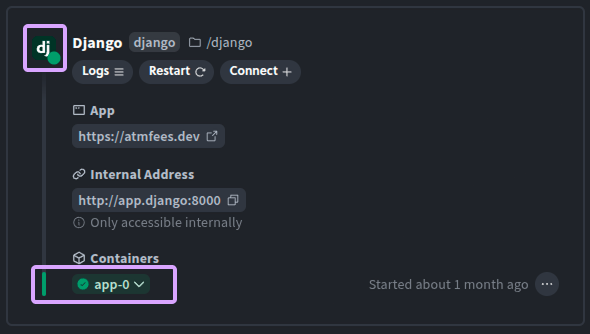
Deployment Component and Add-on Status
In this section you can visualize the status of each component and add-on that defines your deployment.
Status
After a deployment is started you can check its status from the Deployments Overview page. Diploi assigns a color to indicate the overall state of the deployment components
- Green - the deployment is working correctly
- Yellow - there is some issue but the deployment still runs
- Red - there is some bigger issue that needs to be addressed
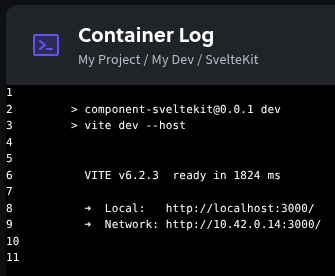
Logs
For each container used by your components and add-ons, you can review the logs by clicking on the “logs” button.
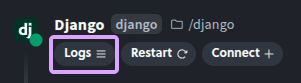
This will show the output from the main running process of your component or add-on, and it operates in the same way in both development and staging/production environments.
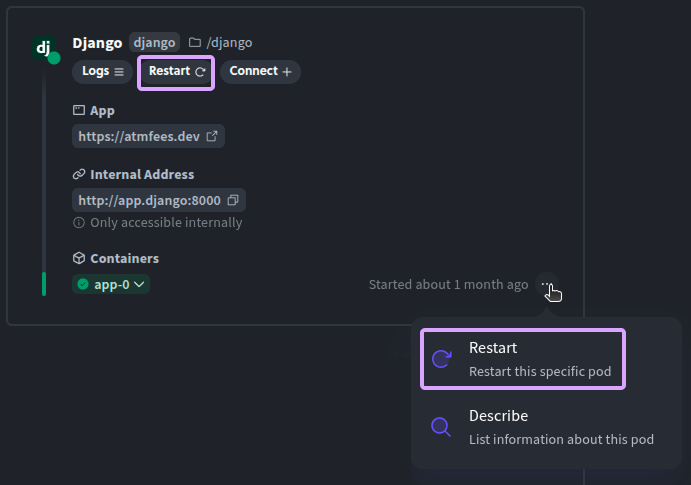
Restart
This action allows you to restart an individual component or add-on, without affecting the configuration of your deployment and other running components.
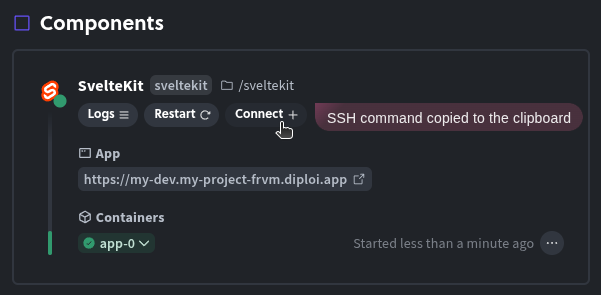
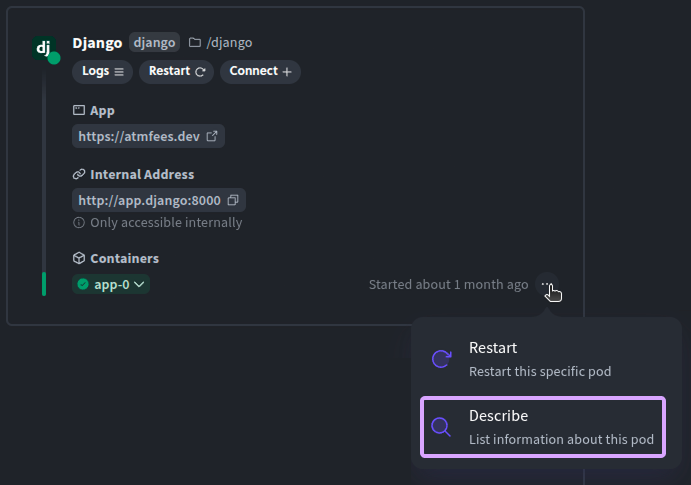
Connect
You can connect directly to each container part of your deployment via SSH. To get the SSH connection string to each container, click on the Connect + button next to each container and this will copy the connection string to your clipboard.
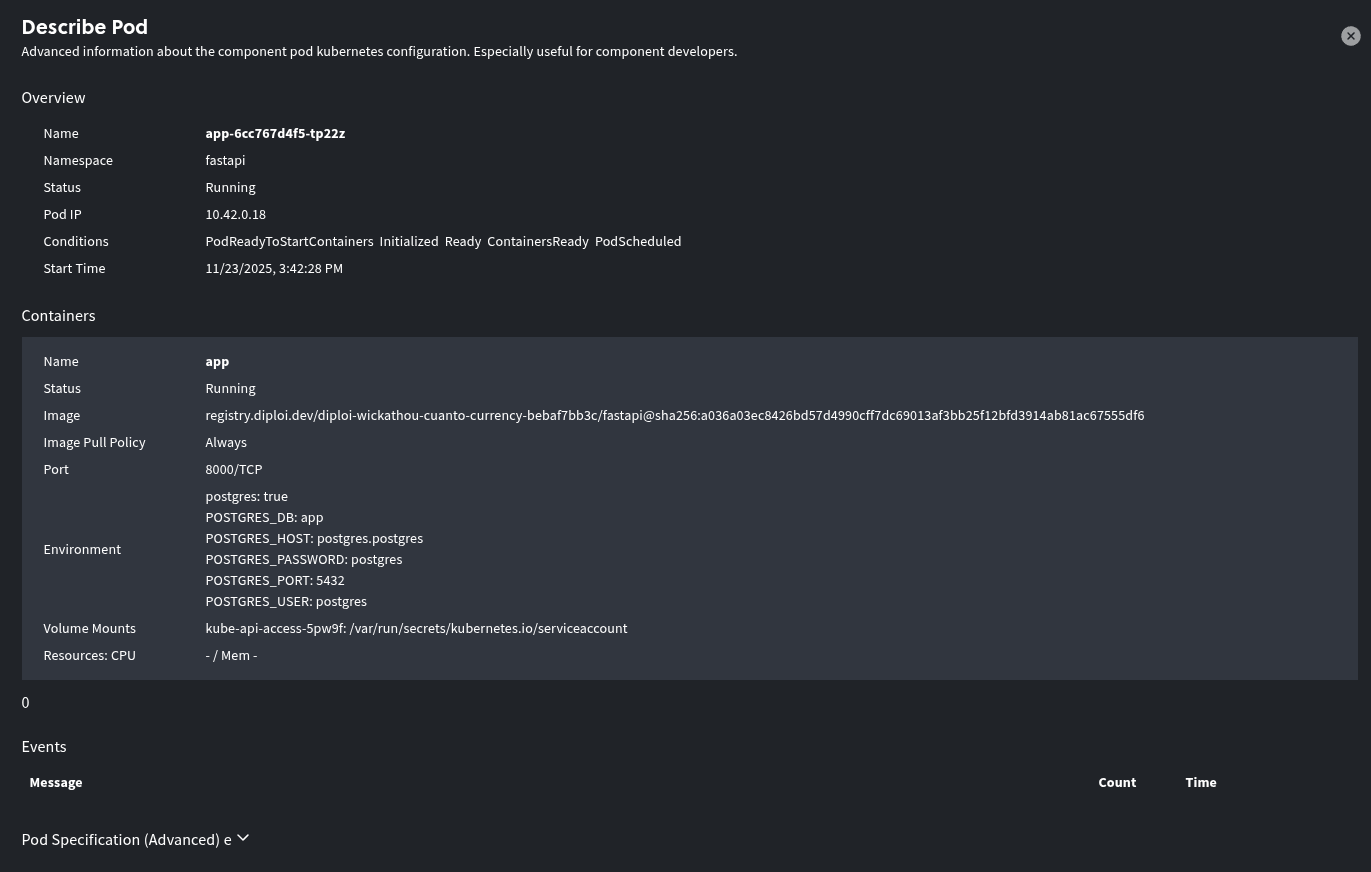
Describe
In some situations where you need to view how your components and add-ons are actually being implemented and started by Diploi, you can use the Describe feature to review the Kubernetes config of a particular component in your deployment.
This will also show additional information, such as debug messages and pod specs, which could be used for debugging and support requests.
Deployment resources
Here you can view how your application is using the resources available to the deployment.
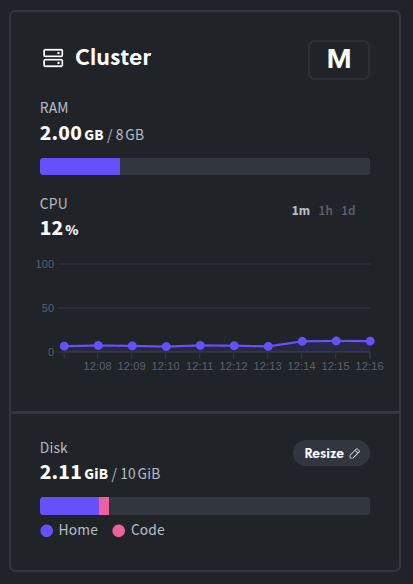
Here you can visualize the overall resource usage of your deployment. You can adjust the timeframe to show 1 minute, 1 hour or 1 day.
Disk resizing
Every deployment starts with 5 GB of persistent storage. You can increase the disk size directly from the Cluster panel by clicking Resize with no downtime or restart required.
For a full guide, see Resizing Deployment Storage.
Note that disk resizing is a one-way operation and cannot be decreased afterwards.
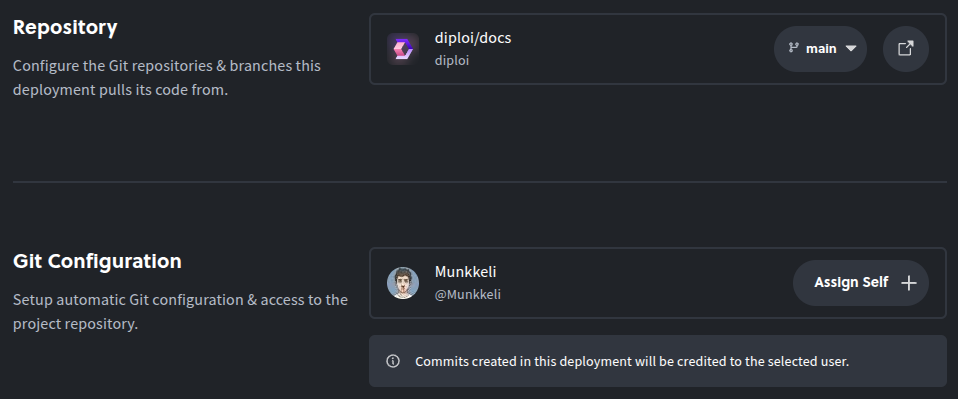
Repository & Git
Only available on project deployments that are linked to a repositoryFrom this tab, you can choose the branch that your deployment will be using as its source.
When you push new changes to your selected branch, a GitHub Actions workflow will be run in your repository, which creates an updated build of your application and it then updates the environment of your deployment.
In this tab, you can also change the attribution of updates to the environment, which by default is attributed to the GitHub account that created the project.
Deployment Options
From here you can update the deployment’s name, change the size of your deployment, assign a custom domain to the public endpoints exposed by your deployment, update the environment variables used by each component and add-on in your deployment or delete your deployment.
Updating the Name
You can update the deployment’s name used inside of your project.
Machine Size
You can change the size of the deployment machine that your deployment uses, by first disabling the deployment and then choosing a different size.

Endpoint Settings
Diploi will by default create a public endpoint for your application and generate SSL certificates for the public endpoints. You can customize the auto-generated domains or if you prefer, you can assign a custom domain.
For a more detailed explanation, check the custom domain guide.
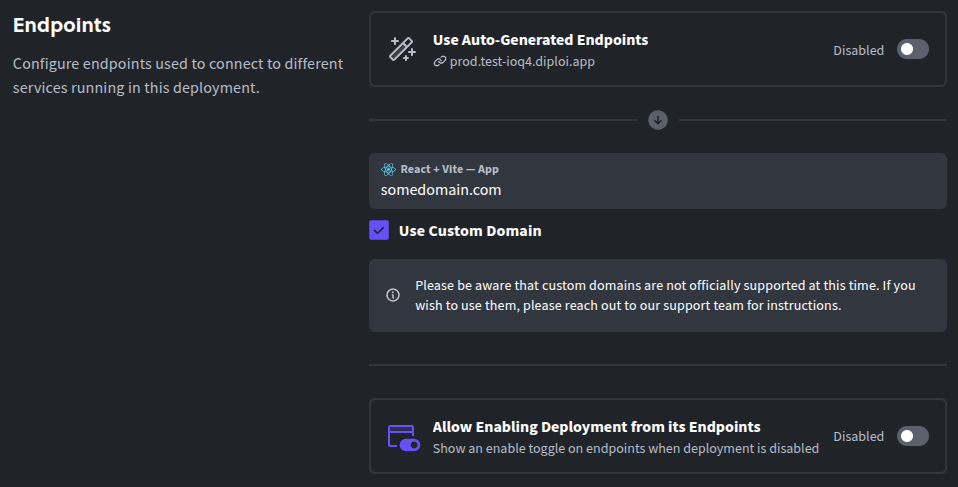
Using a Custom Domain
If you want to use a custom domain all you need to do is:
- Access your domain’s DNS records in your domain host.
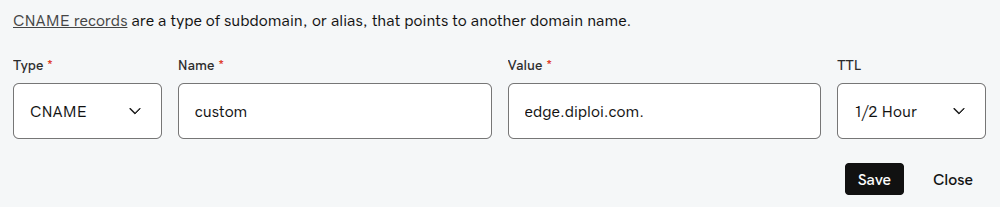
- Create a new CNAME record, pointing to
edge.diploi.com - Make sure to assign a specific name in the CNAME record, as wildcard domains are not fully supported yet.
For example, if you use GoDaddy domains, if you want to use a subdomain like custom.mydomain.com your DNS configuration would look like this:
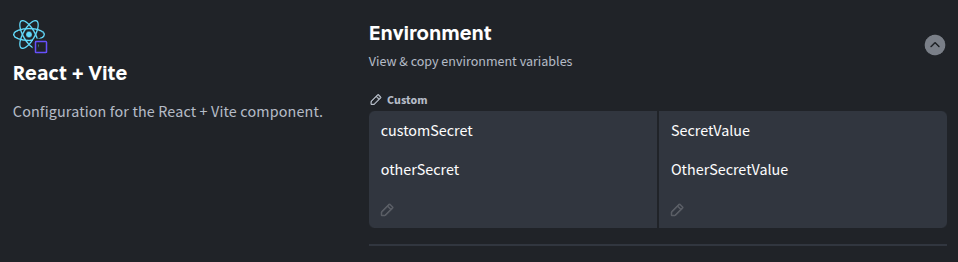
Managing Environment Variables
You can customize the environment variables that each of your components and add-ons use. Some variables are automatically generated from your add-ons into your components.
Deleting a Deployment
When you don’t need a deployment anymore, you can delete it by looking for the button Delete deployment at the bottom of the Options tab. Be aware that this will permanently delete all data stored (such as code, databases etc.) associated with the instance.
