Project Lifecycle
Creating a Project
This is the first step to deploy a new application using Diploi. To create a project you must:
- Select the stack of components and add-ons that your application will be using
- Choose between creating a new repository to store your application’s code or launching without a repository associated for testing purposes
Every project is started from the set of components and add-ons you choose and this defines the structure of your project.
Components
You can think of components as the application layer of your project. In Diploi you can have multiple options available to define your application, which you can mix as you wish.
Components available
Add-ons
Add-ons provide services used by your application. In general, add-ons in Diploi are services that do not require direct development work, which can be services like databases, analytics services, CMS dashboards, etc.
Add-ons available
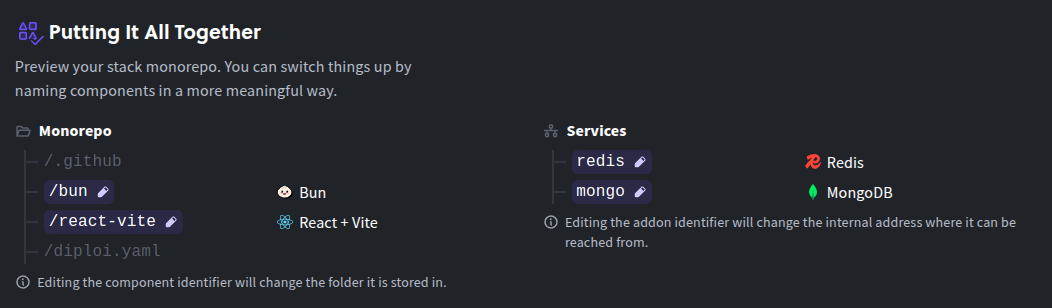
Previewing your Project
In this section, you can see a preview of your monorepo folder structure at root level.
Choosing Between Creating a Project with or without a Repository
A Project with a repository is the default way to set up a project, Diploi bootstraps a new GitHub repository for you and generates a scaffold for your app based on the Stack you choose. additionally Diploi creates a CI/CD pipeline so changes can be persisted across multiple environments and allows your project to be launch in Staging and Production.
A Project without a repository used when you want to test a Stack or you want to run a simple scripts and apps online without a repository.
Managing a Project
After creating a project, you will be able to create new deployments and modify the options of the project.
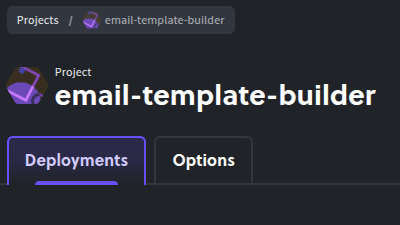
Project Deployments
You will be able to create deployments. Each deployment represents a cluster that serves your application online. For a deeper dive on deployments, check the article about Deployments.
Project Options
In this tab you can view and edit properties of your project.
General
From here you can update the project’s name inside Diploi. When you launch new deployments, the new deployment’s name will start by using the project’s name.

Parent Domain
By default, Diploi generates a domain for your application. The basic structure of a generated domain uses the following logic:
<Deployment endpoint>.<Project parent domain>.diploi.app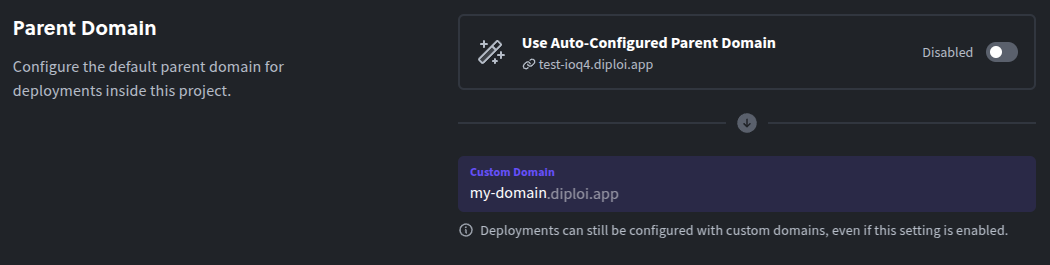
Deleting a Project
When you no longer need a Project you can delete it by first deleting all deployments within the project and the going to the “options” tab of your projects and look for the actions sections, to delete the project click on the “delete project” button.
