Creating a Project
In Diploi, the process to host a new application online, starts by creating a new Project, which will let you the stack of the application you want to deploy, and then launching a Deployment which will run the application online.
The overall process to launch a new application is as follows:

Creating the Stack for a Project
In Diploi, a project refers to a combination of components and add-ons (also called services) that form the stack that will make up your application.
To create a project for your app click Create Project from your dashboard:
https://console.diploi.com/<your account>/projects
Which will open the Stack Builder where you can choose the components and add-ons for your project.
Selecting Components

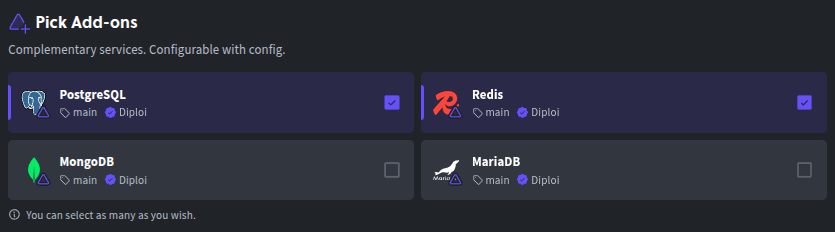
Selecting Add-ons
Once you have chosen the stack for your project, you will be able to see a preview of your selected stack.
Stack Preview
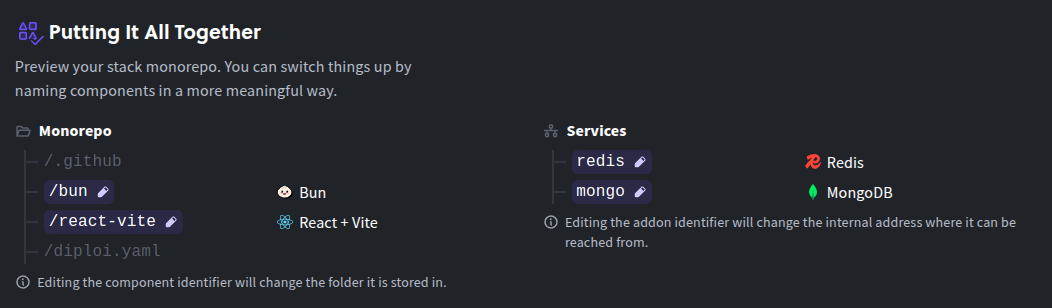
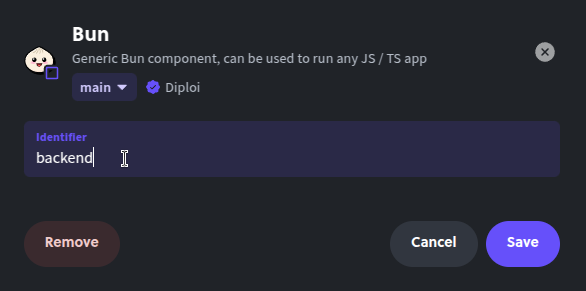
In the preview you can edit the identifier for each component and add-on you have selected by clicking on the previewed elements of your stack. This will change the folder name of the components in your monorepo and the internal hostname of your add-ons.
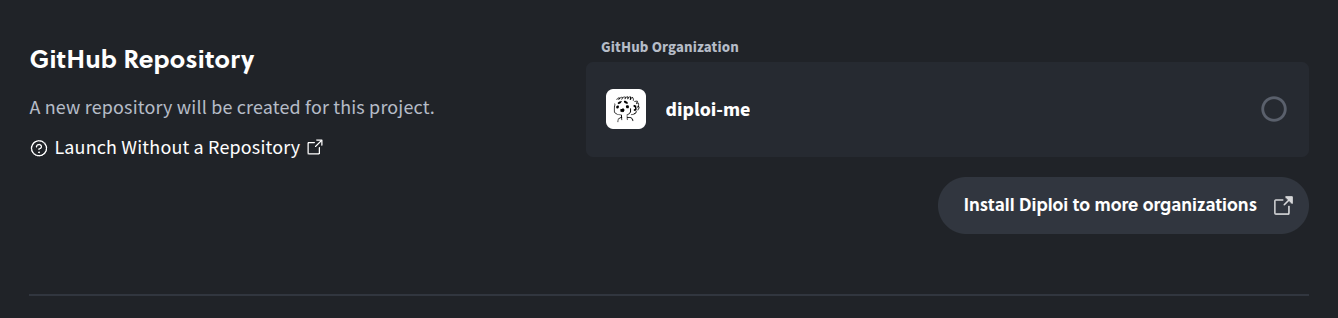
Choosing a GitHub Repository
The last step before launching your project is to configure how your new application’s code will be stored.
You have two options available:
-
Launch Without a Repository where you can launch a project without a repository to store your code. This is ideal for testing, where you can run simple scripts or applications which must be accessible online. Learn more about Launch Without a Repository.
-
Create Repository where a new repository will be created for your project. Ideal for launching new application intended for production. By creating a new repository for your project, you automagically enable Diploi’s push-to-deployment pipeline, where changes in your repository’s will update the state of your deployment. Learn more about Create Repository.
Now that you have selected your preferred stack and the configuration of your project, you can complete the creation of the project by clicking Launch Stack.
For both types of projects, when you finish creating a new project, a new development deployment will be started for your project, which you can use to start developing your application right away.