OpenClaw
OpenClaw is an open-source, self-hosted personal AI assistant that connects to messaging platforms including WhatsApp, Telegram, Slack, Discord, Google Chat, Signal, Microsoft Teams, and more.
Use this starter kit when you want Diploi to run an OpenClaw instance without having to manually configure the hosting infrastructure for it.
Besides offering the easiest way to host OpenClaw on the cloud, Diploi has features that help you start even faster:
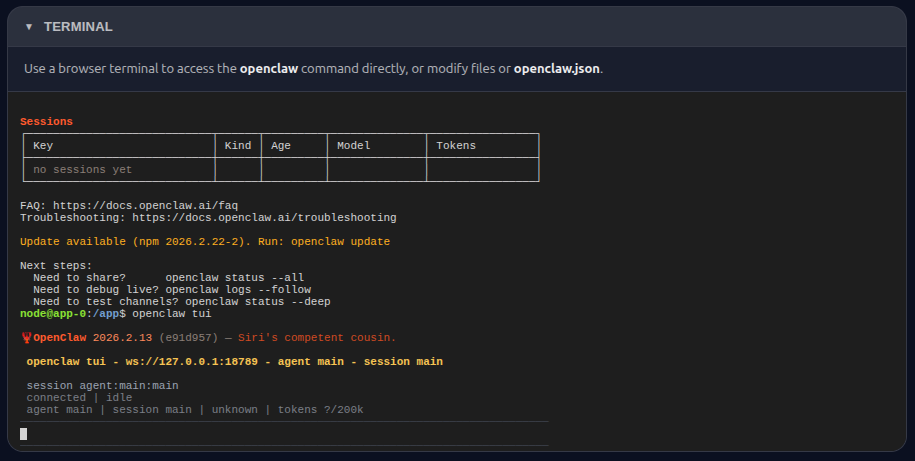
- Access to a browser terminal, to run CLI commands without requiring a SSH connection.
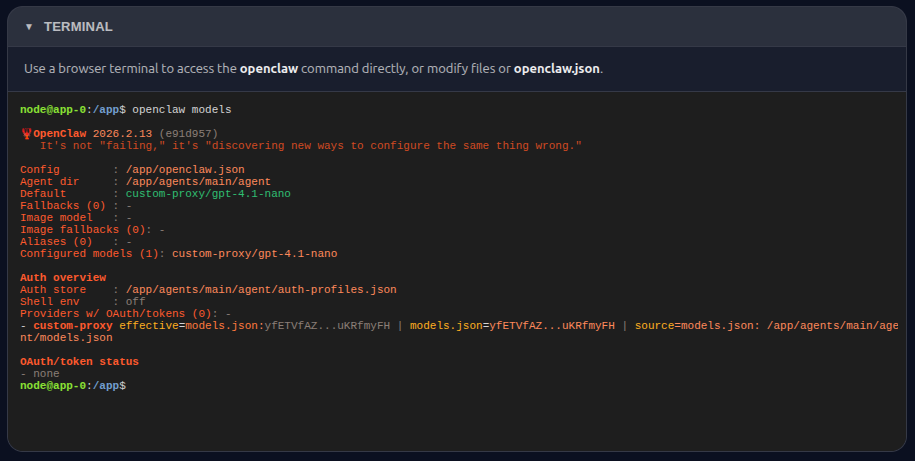
- Fully configured gpt-4.1-nano model, provided through the Diploi AI gateway.
Tech stack
| Technology | Role |
|---|---|
| Node.js | Runtime |
| TypeScript | Language |
| Hono | Wrapper API server |
| React + Vite | Control UI frontend |
| OpenClaw | AI assistant runtime |
| gpt-4.1-nano | AI model |
You can extend your OpenClaw project with any of the components and add-ons supported on Diploi. For more information, click here to learn about how to use the diploi.yaml to extend your project.
Key features
- Multi-platform messaging - WhatsApp, Telegram, Slack, Discord, Google Chat, Signal, Microsoft Teams, and more
- Browser terminal - Run OpenClaw CLI commands directly from the browser without SSH
- Pre-configured AI model - gpt-4.1-nano ready out of the box via the Diploi AI gateway
- Custom control panel - Welcome page to monitor status, start/stop the gateway, and reset your instance
- API-driven management - REST endpoints for programmatic control of the gateway
- Self-hosted & open-source - Full ownership of your data and infrastructure
How it works
On startup, the wrapper server:
- Initializes
/app/openclaw.jsonviaopenclaw onboardunder the hood - Applies config defaults (gateway token and model provider, access to Diploi’s browser terminal)
- Starts OpenClaw with a SSL-protected endpoint
- Proxies
/dashboardto the OpenClaw dashboard UI, and all other routes to the Vite frontend
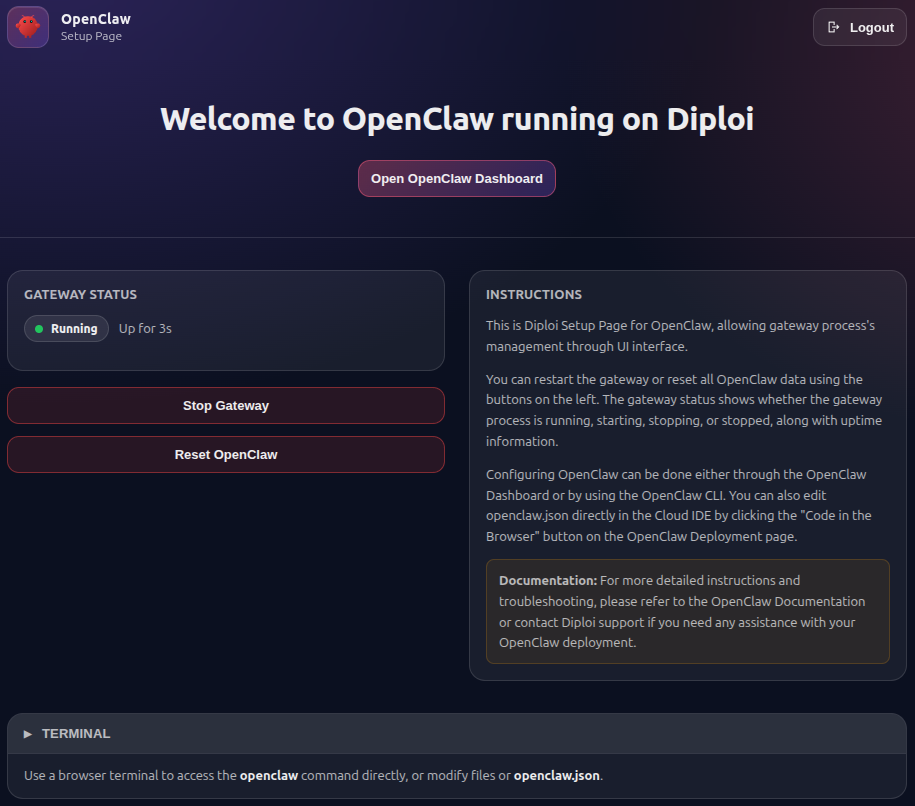
When finished, you will have access to a custom welcome page which is unique for Diploi, from where you can:
- See the general status of your OpenClaw gateway
- Start/Stop the gateway globally
- Reset OpenClaw to its startup defaults
- Interact with the browser terminal and access the OpenClaw CLI
- Access the OpenClaw dashboard
The OpenClaw dashboard hasn’t been modified, so you can expect the exact experience you would get if you configure OpenClaw manually. For more information about how to configure your OpenClaw instance, check their official documentation at https://docs.openclaw.ai/
API endpoints
The Hono API wrapper exposes a set of endpoints which can be useful to perform programmatical actions on your OpenClaw instance. This is the full list of endpoints exposed:
GET /healthz- Health checkGET /api/dashboard-token- Retrieve the dashboard tokenGET /api/gateway/status- Gateway statusPOST /api/gateway/start- Start the gatewayPOST /api/gateway/stop- Stop the gatewayPOST /api/gateway/restart- Restart the gatewayPOST /api/full-reset- Full resetPOST /api/logout- LogoutWS /api/terminal-ws- Browser terminal (PTY websocket)
Environment variables
Common variables used by the wrapper:
PORT(default:3000) - Server portHOSTNAME(default:0.0.0.0) - Server hostnameVITE_HOST(default:127.0.0.1) - Vite dev server hostVITE_PORT(default:5173) - Vite dev server portOPENCLAW_CONFIG_PATH(default:/app/openclaw.json) - Path to OpenClaw configOPENCLAW_STATE_DIR(default:/app) - State directoryOPENCLAW_WORKSPACE_DIR(default:/app/workspace) - Workspace directoryOPENCLAW_GATEWAY_TOKEN- Gateway auth token (generated if missing)DIPLOI_AI_GATEWAY_URL/DIPLOI_AI_GATEWAY_TOKEN- Optional model proxy wiringDIPLOI_LOGIN_SECRET- Required to validate login cookieDIPLOI_LOGIN_USERNAME/DIPLOI_LOGIN_PASSWORD- Credential login
Project structure
server/ index.ts # wrapper server + proxy processManager.ts # gateway lifecycle manager initOpenclaw.ts # OpenClaw config bootstrap + patching api.ts # API routes terminalWs.ts # PTY websocket bridgeweb/ src/ # React UIDockerfile.dev # full dev image including OpenClaw buildDockerfile # production runtime imagediploi.yaml # Diploi starter metadata